


How to setup a Cloudflare account
Simple step to create Cloudflare account
Cloudflare is a global network designed to make everything you connect to the Internet secure, private, fast, and reliable. Secure your websites, APIs, and Internet applications. Protect corporate networks, employees, and devices.
To setup your Cloudflare account follow the steps below:
- Open the Cloudflare website.
Website link – https://www.cloudflare.com/ - Click on the Sign up option on the navbar.

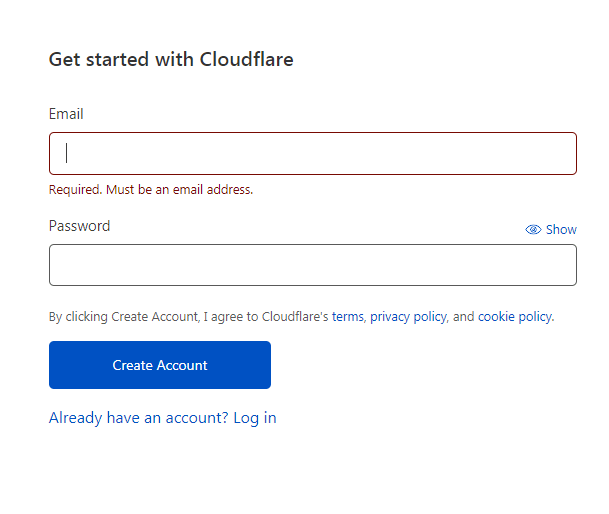
- Enter you email id and password and click on “Create Account”.

- Select the right option and click on get started.
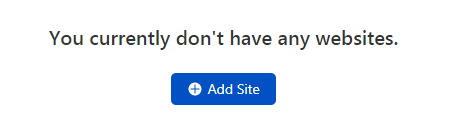
- Enter your Domain or site name.

- Select the plan as Free and click on confirm plan.

- The system will search your DNS management once completed press continue.
- Update your server name and click on “Done and check server names”.
- Click on Get Started.
- The summary setting should be as followed:
Automatic HTTPS Rewrites – ON > click save.
Always use HTTPS – ON > click save.
Under auto minify click on all three options (Javascript, CSS, HTML) > click save.
Brotli – ON > click save. - Recheck the summary and click on finish.
- As it redirects click on recheck.
- The account is successfully created.


How to add Tigmo as a user in a Cloudflare account
To set up Tigmo as a user follow the below steps:
- Make sure your account is verified through the mail sent while creating your account.
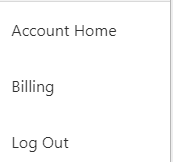
- Click on Account home.

- Add a new member via putting the mail id.
- Select them as Admin.
- The invite link has been sent to the concerned person and can now start managing your DNS.