

Setting up a Mailchimp account
Simple setps to create a Mailchimp account
Mailchimp is an all-in-one marketing platform that helps you manage and talk to your clients, customers, and other interested parties. Our approach to marketing focuses on healthy contact management practices, beautifully designed campaigns, and powerful data analysis.
To create a Mailchimp account follow the steps below:
- Open the website.
Website link: https://mailchimp.com/ - Click on the “Sign Up Free” button on the navbar.

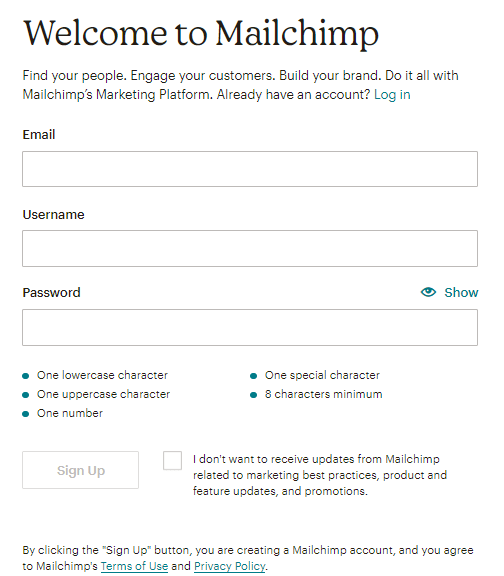
- Enter your email address, username and password.

- Click on Sign up once you have entered all information.
- You will receive a verification email on the email id you have registered.
- Click on the Activate account option given in the mail to verify your account.
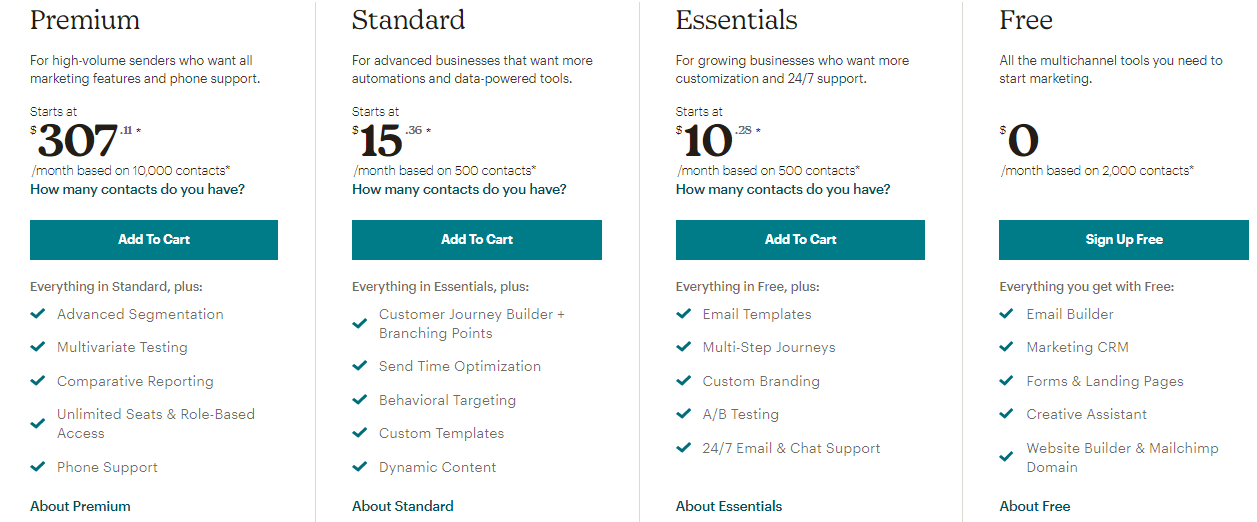
- Go back to the Mailchimp website. It will automatically redirect you to the payment gateway.
- Click on the free option for the payment and click continue.

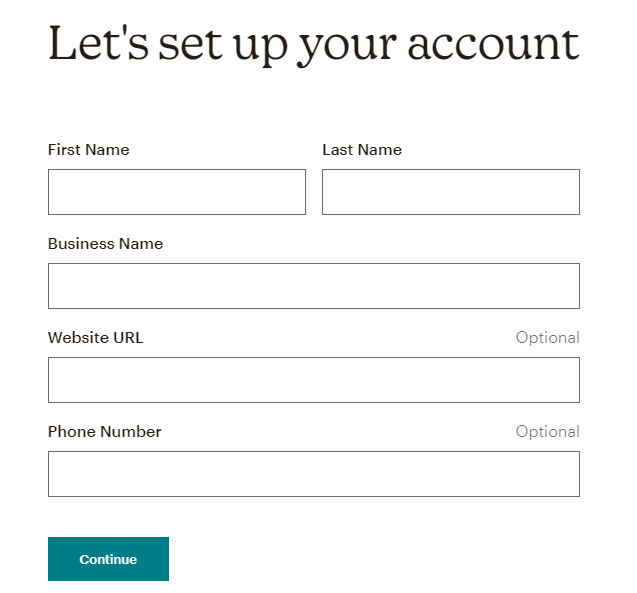
- Fill in the account set-up information and click continue.

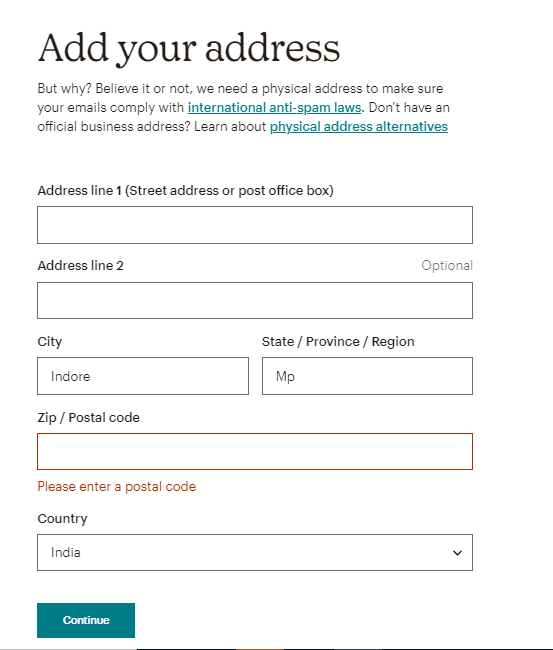
- Fill in your address and click continue.

- It will redirect you to Tell us about your contacts. Click on the suitable option as Yes/No and click continue.
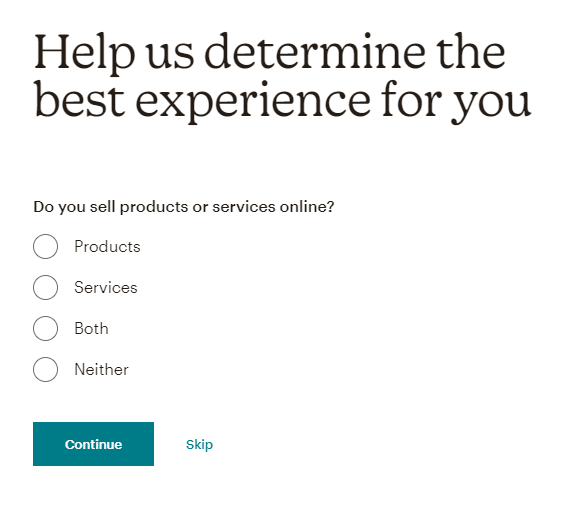
- It will again redirect you to Help us determine the best features for you. Click on the suitable option and click continue.

- It will redirect you to Tell us where people can access your offering. Click in the suitable option and click continue.
- The next page will ask you whether you want to stay in the loop with Mailchimp. Click on the suitable option or skip if you want and click continue.
- Your account is set up successfully.
How to add a user to the account?
Below are the steps to add a user to the account:
- Login to your Mailchimp account.
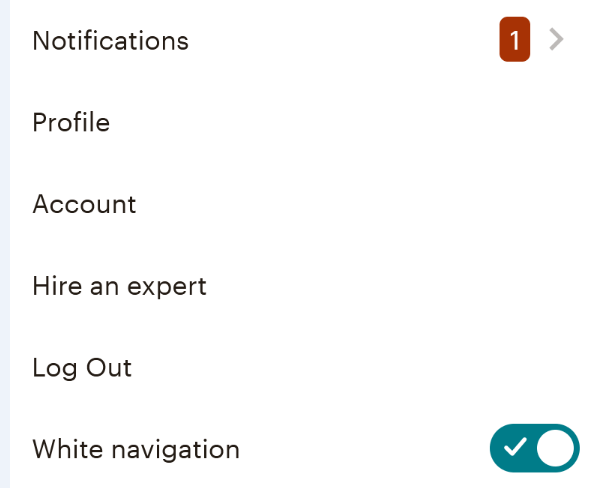
- Click on account under your account name.

- Go to settings > Users.
- Click on invite a user.
- Enter the email address and click on the appropriate user type.
- Click on sent invite.
- A confirmation email will be sent to the invitee.


