


Updating your WordPress avatar
Simple steps for changing your WordPress avatar
Gravatar, a globally recognised avatar is a service which allows you to add an avatar image that is associated with your email address to be displayed on websites and applications that support the service.
WordPress by default supports Gravitar and allows you to set one image which will be displayed on all WordPress websites where you use that email address to login.
To setup your Gravatar follow the steps below:
- Go to the Gravatar website
https://en.gravatar.com/ - Click on create your own Gravatar.

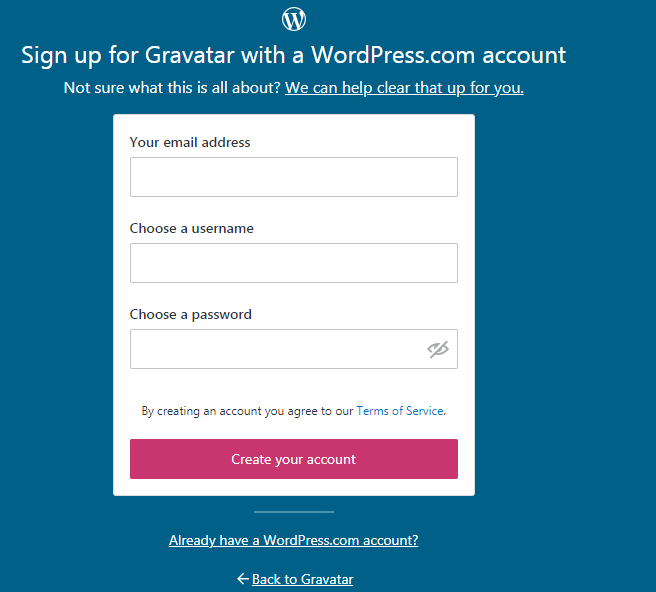
- Fill in the required information.

- Click on create your account.
- A confirmation link will be sent to your email. Check the email box to activate your account.
- After activation of the account fill the profile details and click save.
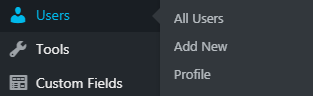
- Login to your WordPress account.
- Click on user > profile.

- Enter the same email address which you have added while creating Gravatar id.
- Click on the profile picture option to change your profile picture on Gravatar.
- The same profile information will be updated as your Gravatar account.